Tired of manually configuring your Active Directory LAB environments?
Discover how to deploy a fully functional LAB setup — including Domain Controllers, Tiering & Delegation Models, GPOs, and test accounts — with automation using PowerShell.
A LAB environment with AD DC, Tiering Model, and Delegation Model is a useful tool for organizations that want to try out and implement new hardware and software. It allows IT professionals to experiment with configurations and detect possible problems before applying them in a real environment. The AD DC (Active Directory Domain Controller) is the core of the LAB environment, offering authentication and authorization services. The Tiering Model helps to allocate resources and ensure reliability, while the Delegation Model allows administrators to assign tasks to specific users or groups. This article will give a brief introduction of how to create a LAB environment with AD DC, Tiering Model, and Delegation Model.
A laboratory environment, commonly known as a lab, is a controlled setting where scientific experiments and research take place. It is an essential part of the scientific process as it provides a space for scientists to test their hypotheses and validate their theories. Labs are equipped with specialized equipment and tools that allow scientists to conduct experiments with precision and accuracy. Safety is of utmost importance in a lab environment, and strict protocols are followed to ensure the well-being of the researchers and their surroundings. The lab environment plays a crucial role in advancing scientific knowledge and finding solutions to real-world problems.
There is always the need to have a LAB environment to test out things.
But setting up a LAB with Domain Controllers, Servers, Configurations, GPOs… Can be time consuming.
The Idea is to have an Automated way to set-up our Active Directory, with all Tiering and Delegation model, and some test users and groups.
Setting up a LAB environment with AD DC, Tiering Model, Delegation Model and all required objects ready to use can be a daunting task without the right automation in place. The idea is to have an Automated way to set up our Active Directory, incorporating Tiering and Delegation models while prepping test users and groups for seamless operations.
When aiming to establish an Active Directory Domain Controller (AD DC) for a LAB environment, it’s crucial to streamline the process through automation. By implementing a systematic approach, organizations can ensure efficiency and accuracy in setting up their AD infrastructure.
Incorporating a Tiering Model within the Active Directory structure is essential for organizing resources and permissions based on roles and responsibilities. This model not only enhances security but also simplifies management by segregating access levels effectively.
Delegation Model plays a pivotal role in granting specific permissions to users or groups within the Active Directory environment. By delegating tasks appropriately, organizations can distribute administrative responsibilities while maintaining control over critical operations.
To facilitate testing and validation, creating test users and groups in the LAB environment is imperative. These entities mimic real-world scenarios, allowing organizations to assess the functionality and security of their Active Directory setup effectively.
By automating the setup process and integrating Tiering and Delegation models alongside test users and groups, organizations can establish a robust Active Directory infrastructure tailored to their specific requirements. This holistic approach not only enhances operational efficiency but also strengthens security measures within the AD environment.
I’ve created a set of scripts that can help. You can find them on Github.com under the repository vreguibar/EguibarIT.AutoLabSetup
What This LAB Setup Includes
The automation scripts available in the GitHub repository will:
- Deploy an Active Directory Domain Controller (AD DC)
- Implement a Tiering Model (Tier0, Tier1, Tier2)
- Set up a Delegation Model
- Create test users, groups, service accounts, and PAWs
- Configure DNS, DFS, GPOs, Sites, and Subnets
- Apply security hardening and best practices
Introduction
Using these scripts, you can quickly and easily set up your own LAB environment for testing and experimentation without having to spend hours configuring everything manually. The scripts (try) include everything from configuring Domain Controllers to creating test user accounts and groups. Additionally, the tiering and delegation model is already set up for you, allowing for a more efficient testing process. The scripts are also customizable, so you can tweak them to fit your specific needs. With this automated LAB setup solution, you’ll have more time to focus on testing and solving problems, rather than setting up the infrastructure from scratch. Give the scripts a try and see how they can simplify your LAB setup process.
Creating Profile
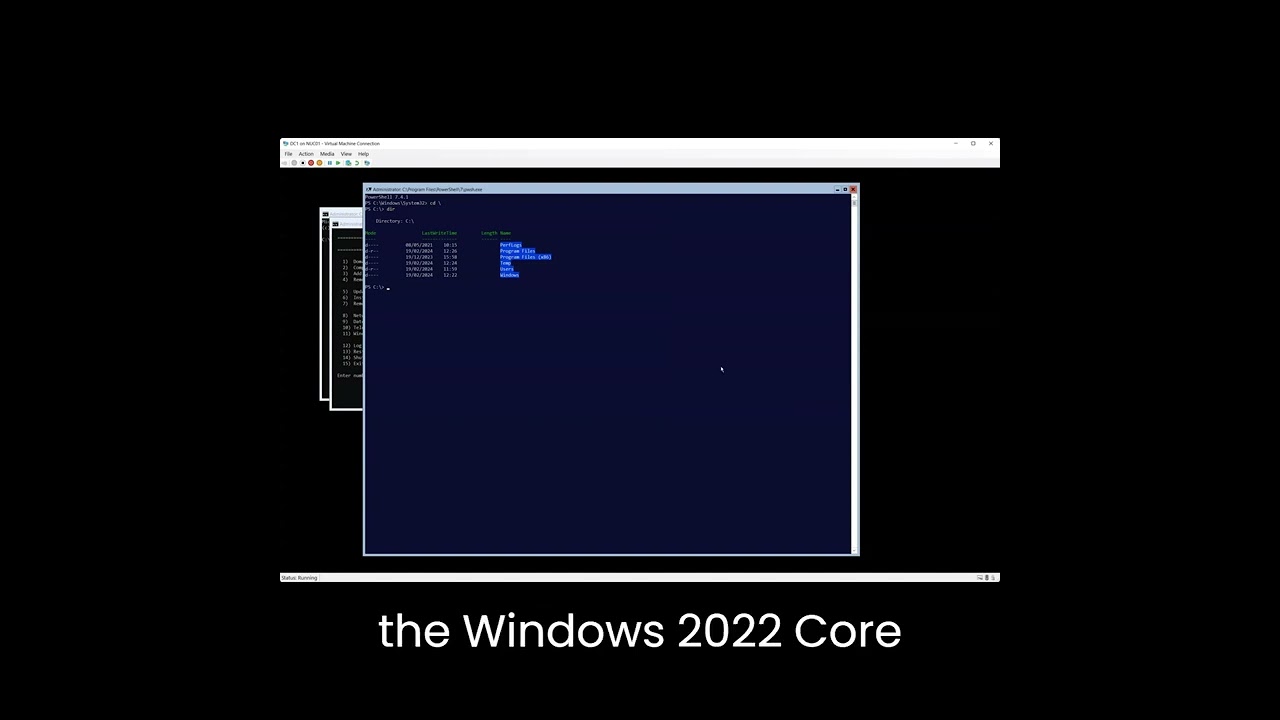
This is the first script to be executed (_CreateProfile.ps1). It contains the default user/password (Don’t use it in PROD… just a test environment) and depending os VM location, it will either create a PowerShellDirect or PSSession to copy the files (from a Harcoded path. This will have to change!!!) and configure the OS to start the overall process. This script is remotely accessing the host, and making remote configurations through the session.
This script will:
- Use default (harcoded to the script) uswername and password
- Create the corresponding session (Remote PSSession or PowerShell Direct)
- Create a NEW local Administrator
- Configure display, networkprofile, location, execution policy, default shell, locales, trusted hosts.
- Set registry keys for automatic logon
- Create Scheduled Task so any user who logon will have CMD and SConfig among the default shell.
- Create Scheduled Task that will execute the next script.
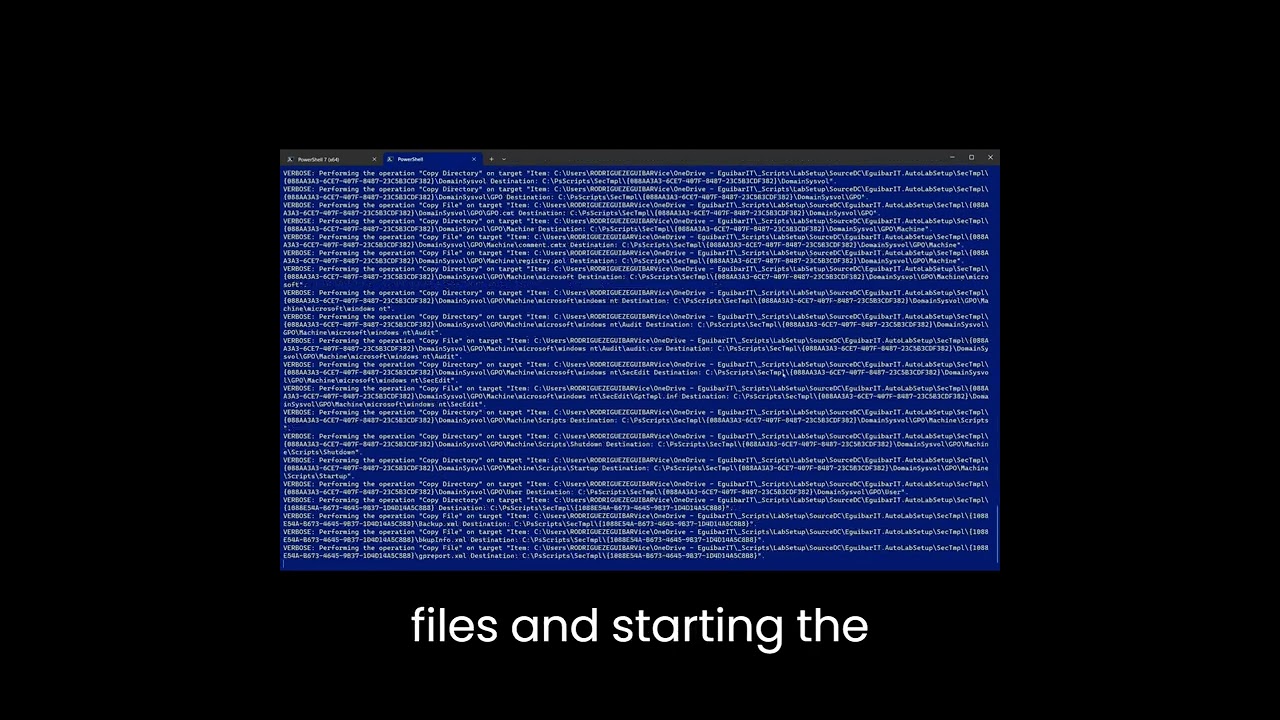
- Copy all requiered files to the session.
- Check if more than 1 disk is configured (in our case DC’s have 6 disks, so it will initialize, format and configure accordingly).
Reboot the VM.
Basic Configuration
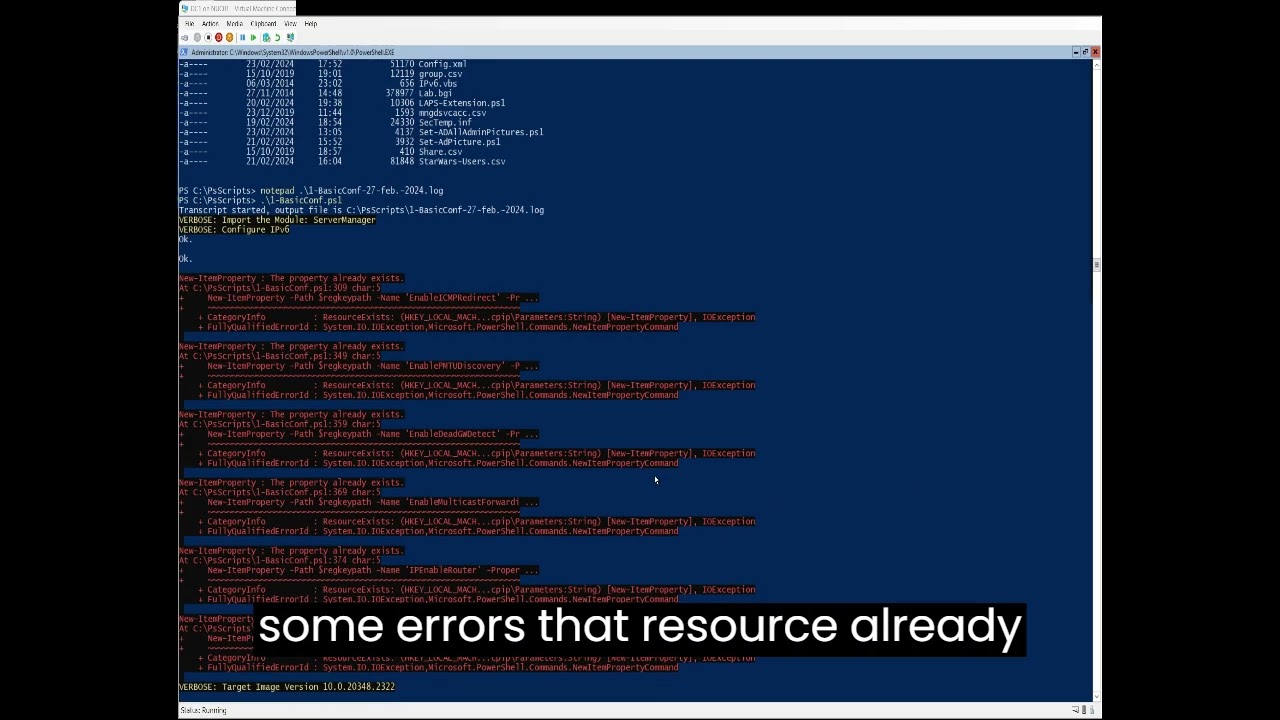
The PsScript directory on the C: drive of the host already contains the script, which is invoked locally by the previous scheduled task. The primary objective of this script is to provide a secure and elementary operating system to begin working with.
This script will:
- Set a transcript output
- Import the corresponding modules
- Load the XML configuration file
- Check and configure IPv4 and IPv6 stack
- Fine-Tune network card and TCP
- Apply security settings
- Define services startup (Automatic, Manual & Disabled)
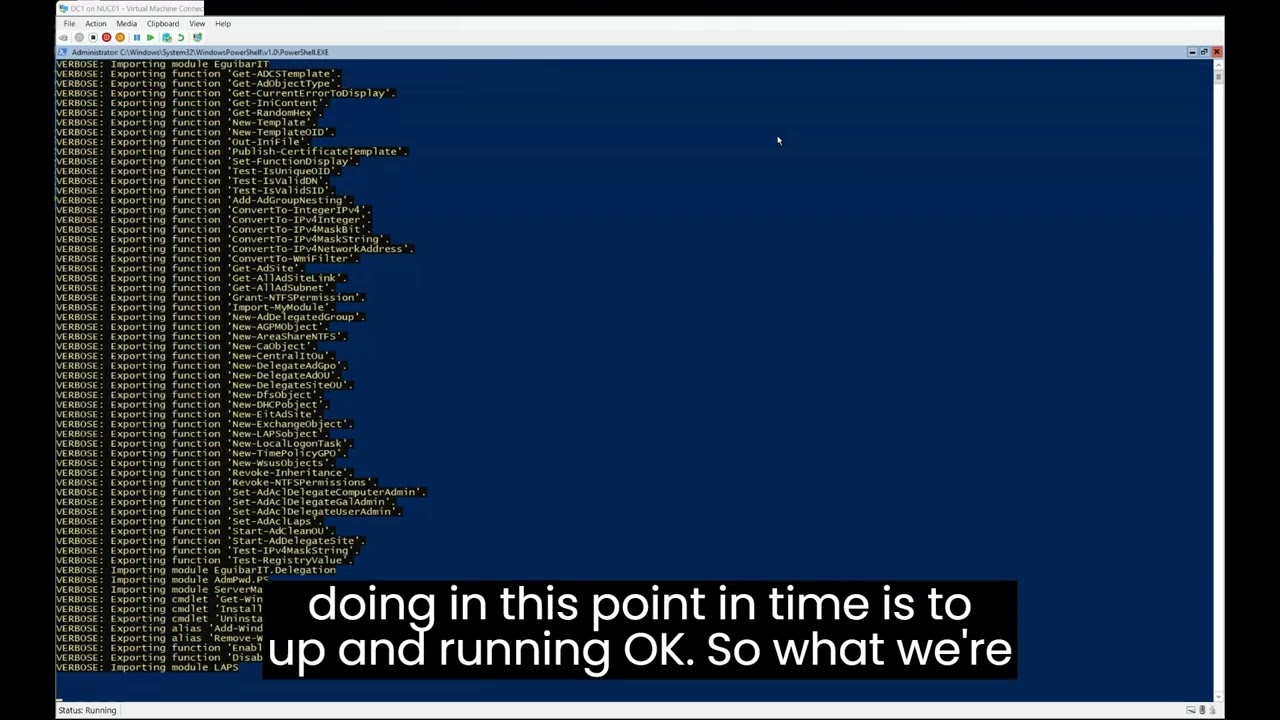
- Download modules from PowerShellGallery (of course EguibarIT modules :-))
- Check and install lates PowerShell
- Check and change ComputerName, Organization, Time sync
- Rename default Administrator account
- Set registry keys for automatic logon
- Create Scheduled Task that will execute the next script.
- Configure Power options
- Install .NET 3.x
- Configure Boot
- Apply security template (SecTemp.inf)
Reboot the VM.
Add Features
This script is already on the host on the PsScript folder on the C: drive, and is called locally by the previous scheduled task. The main goal of this script is to install all needed features.
This script will:
- Set a transcript output
- Import the corresponding modules
- Load the XML configuration file
- Install DNS feature
- Install DNS Management feature if not Core
- Install .Net Framework feature
- Install File Server feature
- Install File Server Management feature if not Core
- Install DFS-Namespace feature
- Install DFS Management feature if not Core
- Install DFS-Replication feature
- Install Group Policy Management feature
- Install Windows Backup feature
- Install AD-Domain-Services feature
- Install AD-Domain-Services feature if not Core
- Add IPv4 & IPv6 DNS reverse lookup zones
- Set registry keys for automatic logon
- Create Scheduled Task that will execute the next script.
Reboot the VM.
Promote Domain Controller
The PsScript folder on the C: drive of the host already contains the required script, which is being invoked by the previously scheduled task. The script’s primary objective is to elevate the server’s status to become the first domain controller.
This script will:
- Set a transcript output
- Import the corresponding modules
- Load the XML configuration file
- Check if more than 1 disk is configured (in our case DC’s have 6 disks, so it will initialize, format and configure accordingly).
- Promote the server to the First Domain Controller in the new forest.
- Set default domain
- Set registry keys for automatic logon
- Read configuration if needs LAPS extension or not. Schedule task with the corresponding script.
Reboot the VM.
Extend Schema for LAPS
This script is already on the host on the PsScript folder on the C: drive, and is called locally by the previous scheduled task. The main goal of this script is to verify LAPS Schema extension exists. Add it in case it does not.
This script will:
- Set a transcript output
- Import the corresponding modules
- Load the XML configuration file
- Read all schema attributes and store it on $guidMap variable. This will show if LAPS extension exists or not.
- Set registry keys for automatic logon
- Check for LAPS attribute, Schema Admin privileges and extend schema. Additional reboot might be needed.
- Create Scheduled Task that will execute the next script.
Reboot the VM.
Configure the Domain
This script is already on the host on the PsScript folder on the C: drive, and is called locally by the previous scheduled task.
This script will:
- Set a transcript output
- Import the corresponding modules
- Load the XML configuration file
- Define Naming Conventions Hashtable
- Get SYSVOL location
- Copy BGInfo and some scripts to NETLOGON
- Configure DNS zones (Forward and Reverse) to be AD integrated, Set Ageing and Scavenging and define default forwarders.
- Normalize (rename) Admin and Guest in case those aren’t correct.
- Read Configuration in order to define which additional “roles” must be created.
- Implement Tiering & Delegation Model (New-CentralItOU)
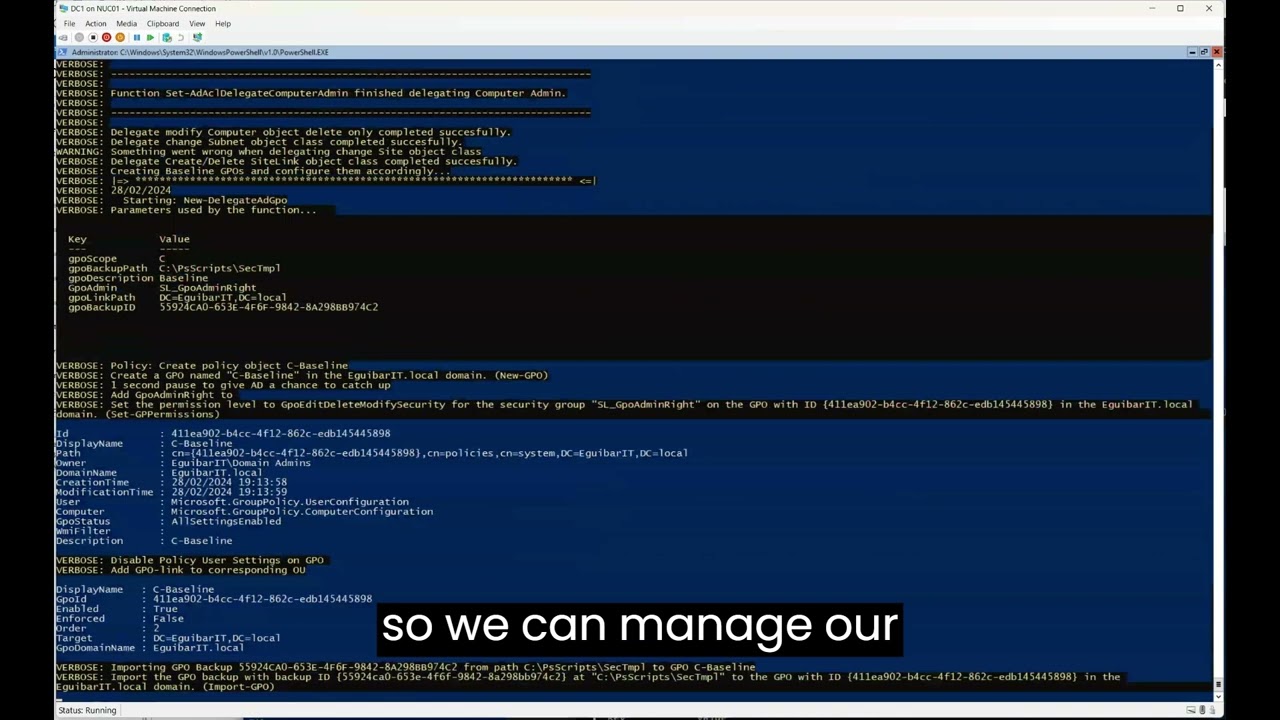
- Create and Configure new GPOs
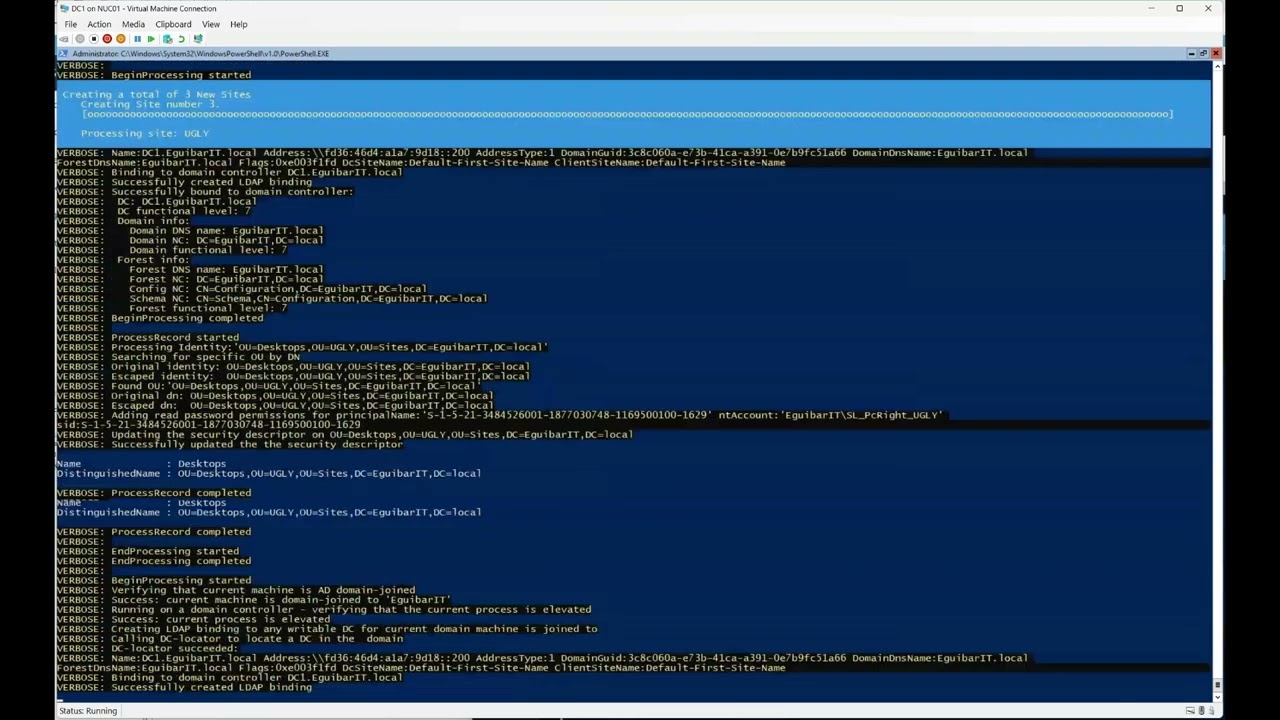
- Create new Sites and Subnets (IPv4 & IPv6).
- Create and Configure DFS shares
- Create Group Policy Repository (PolicyDefinition) and copy latest ADMX/ADML templates
- Enable Recycle-Bin
- Remove default permission for all users to add workstations to the domain
- Add UPN suffixes to the domain
- Set registry keys for automatic logon
- Create Scheduled Task that will execute the next script.
Reboot the VM.
Populate Domain
This script is already on the host on the PsScript folder on the C: drive, and is called locally by the previous scheduled task.
This script will:
- Set a transcript output
- Import the corresponding modules
- Load the XML configuration file
- Define Naming Conventions Hashtable
- Read users CSV file and create any SITE OU defined
- Read users CSV file and create each user (172 users)
- Read ServiceAccounts CSV and create all SA, MSA and gMSA in the list, each per defined tier
- Read group CSV file and create each group with its corresponding membership
- Read Share CSV file and create each share with its corresponding group & group membership
- Create Semi-Privileged users on Tier0, Tier1 and Tier2
- Grant roles to each previous created Semi-Privileged user
- Set default password (don’t do this in PROD) and never expire PWD for above mentioned accounts.
- Pre-stage Privileged Access Workstations (PAWs) on Tier0, Tier1 and Tier2
- Get DC gMSA to schedule housekeeping tasks and grant access to all Domain Controllers.
- Housekeeping Admincount on Users and Groups
- Housekeeping Privileged Users
- Housekeeping Privileged Computers
- Housekeeping Privileged Groups
- Housekeeping NON Privileged Groups
- Housekeeping Semi-Privileged Key Pair
- Housekeeping for Service Accounts
Reboot the VM.
Getting Started
- Clone the repo from GitHub:
https://github.com/vreguibar/EguibarIT.AutoLabSetup - Modify
CreateProfile.ps1:- Update hardcoded paths and default credentials
- (Do not reuse these in production)
- Execute the script on your Hyper-V host or VM to begin the process
Once started, each script schedules the next task until the domain is fully provisioned.
